
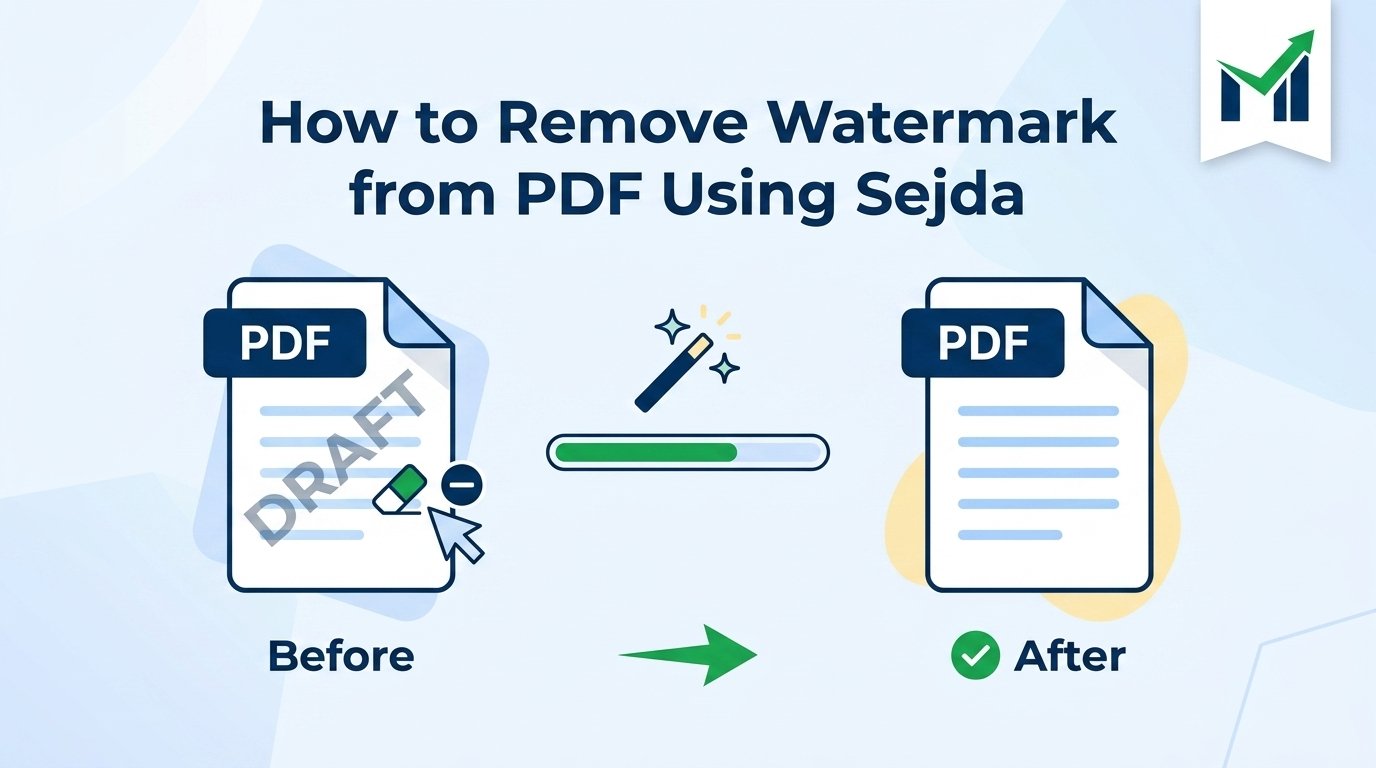
You’ve Got a Watermark. Standard Editing Didn’t Work. Here’s Why.
You’ve got a PDF with “DRAFT” or “CONFIDENTIAL” stamped across every page. You tried right-clicking, selecting text, even copy-pasting into another document. Nothing worked. That’s because a watermark in a PDF isn’t typed text you can highlight and delete like in Word. It’s embedded as a separate overlay or background element, and most editors don’t recognize it as something you can touch.
Most tools you’ve already tried either crash on your file, limit you to two pages for free, or don’t actually remove anything. Sejda.com takes a different approach. It’s a free, browser-based pdf watermark remover built around its PDF Editor, which includes a Whiteout tool that lets you cover and hide watermarks from your PDF quickly, with no software download required.
Quick Answer: A PDF watermark won’t respond to regular editing because it sits on a separate layer from the main text. To remove a watermark from a PDF using Sejda, open your file at sejda.com/pdf-editor, select the Whiteout tool, drag it over the watermark, and click Apply changes. Most people see results on the first try.
How to Use Sejda’s Whiteout Tool to Remove a Watermark
Why It Happens
A text or image watermark in a PDF sits as its own layer on the page. It’s not part of the regular text flow, so standard text editors skip right over it. You can’t click it, you can’t select it, and you definitely can’t delete it with a backspace key.
The Fix
Sejda’s PDF editor includes a Whiteout tool that draws a white rectangle over any part of the page – including watermarks. The covered area won’t show in your downloaded file or in print.
- Go to sejda.com/pdf-editor
- Click Upload and select your PDF
- Once the file opens, look for Whiteout in the top toolbar
- Click and drag over the watermark on the page to cover it completely
- Zoom in to check the edges – make sure the white box fully overlaps the watermark
- Click Apply changes
- Download your updated PDF
Result
The watermark disappears from the downloaded file. The page looks clean, and the Whiteout area prints as a blank white space.
Common Mistake: Covering the watermark at a zoomed-out view and missing the edges. Always zoom to 100% or more before applying.
How to Handle Watermarks Across Multiple Pages in Sejda
Why It Happens
If your PDF has 15 or 30 pages with a watermark on each one, you’re looking at repeating the Whiteout process page by page. The Sejda online editor doesn’t have a single “apply to all pages” button for the Whiteout tool, so this takes a little patience.
The Fix
Sejda’s free tier supports files up to 200 pages and 50 MB. Work through the document page by page in one editing session.
- Upload your file at sejda.com/pdf-editor
- Apply Whiteout on page 1, covering the watermark precisely
- Scroll to page 2 and repeat the same coverage
- Continue page by page until you’ve covered every instance
- Click Apply changes once – not after each page
- Download the finished file
Pro Tip: Do all pages in a single session before clicking Apply. Applying changes mid-way and re-uploading adds unnecessary steps.
Result
Every page downloads without the visible watermark. The process takes a few minutes for longer documents, but the results are consistent.
What Causes Sejda Whiteout Not to Work on Your PDF
Why It Happens
Two situations break the normal process. First: your PDF might be a scanned document. A scanned PDF is a flat image of a page, not a real editable document. The watermark isn’t a separate layer – it’s part of the page image itself. Second: the PDF might be password-protected with owner restrictions that block editing entirely.
The Fix
For scanned PDFs:
- Go to sejda.com/ocr-pdf
- Upload your scanned file and run OCR (Optical Character Recognition)
- Sejda converts it into a real, text-based PDF
- Open the result in the PDF editor and apply Whiteout as normal
For locked or restricted PDFs:
- Go to sejda.com/unlock-pdf
- Enter the owner password if you have it
- Sejda removes the restrictions
- Open the unlocked file in the editor and proceed
Result
After either step, your file becomes editable. The how to remove watermark in pdf process works as expected from there.
Common Mistake: Trying to edit a restricted PDF without unlocking it first. Sejda shows a warning, but some users dismiss it and are confused when their changes don’t apply.
How to Add a Watermark to PDF With Sejda
Why It Happens
You need to stamp your own documents before sharing them – “DRAFT,” “CONFIDENTIAL,” a company name, or a logo. Without a proper tool, most people edit the source file in Word or Photoshop, which takes far longer and breaks formatting.
The Fix
Sejda has a dedicated tool to add watermark to PDF at sejda.com/watermark-pdf. It supports both text and image watermarks with full control over style and placement.
To add a text watermark:
- Go to sejda.com/watermark-pdf
- Upload your PDF
- Click Add Text and type your label (e.g., “Draft” or “Sample”)
- Drag it to the desired position on the page preview
- Adjust font, color, size, rotation, and opacity
- Select which pages get the watermark – all pages or a custom range
- Click Watermark PDF and download
To put a watermark on a PDF using an image – such as a logo – click Add Image and upload a PNG or JPG file instead. PNG files with transparent backgrounds work especially well.
Result
Your PDF downloads with the watermark applied exactly where you placed it, at the opacity you chose, on every page you selected. Sejda also lets you save watermark settings as a reusable template.
How to Remove PDF Watermarks Offline With Sejda Desktop
Why It Happens
Sejda’s online service processes files on its servers and deletes them after 2 hours. That’s secure enough for most documents. But if your files contain sensitive legal, medical, or business records, you may not want any server-side processing at all.
The Fix
Sejda Desktop is a free download that runs entirely on your computer. It has all the same tools as the online version – including the PDF editor with Whiteout – but files never leave your machine.
- Go to sejda.com/desktop
- Download the version for your system (Mac, Windows, or Linux)
- Install and open Sejda Desktop
- Open your PDF in the editor
- Use Whiteout exactly as you would in the browser version
- Save the file locally
No upload. No internet required after installation.
Result
You get the same pdf watermark remover workflow, fully offline, with complete privacy over your documents.
Warning: The desktop free tier mirrors the online free tier limits. For unlimited processing, the paid plan at sejda.com/upgrade covers both.
FAQ
Can Sejda completely remove a watermark from a PDF?
Sejda’s PDF editor uses the Whiteout tool to cover watermarks rather than strip the underlying layer from the file structure. For nearly every practical situation – sharing, printing, emailing – the covered watermark won’t appear. If you need the layer technically removed at a file level, that’s a more complex operation outside of what Sejda’s current tools perform.
Why can’t I edit my PDF in the Sejda editor?
Your file is likely either scanned or password-protected with owner restrictions. A scanned PDF is a flat image, not an editable document. Run it through Sejda’s OCR tool at sejda.com/ocr-pdf first, then open it in the editor. For a restricted PDF, use sejda.com/unlock-pdf with the owner password before trying to make changes.
Is Sejda’s watermark tool free to use?
Yes. Sejda’s free tier covers files up to 200 pages or 50 MB, with up to 3 tasks per hour. That handles most everyday use cases at no cost. If you need to process larger files, remove watermarks from a batch of documents, or exceed the per-hour limit, paid plans are available at sejda.com/upgrade.
How do I put a watermark on a PDF using Sejda?
Go to sejda.com/watermark-pdf, upload your file, and click Add Text or Add Image. Enter your label or choose a logo file. Adjust position, size, color, opacity, and page range. Click Watermark PDF to download. The whole process takes under two minutes and supports formats including JPG, PNG, GIF, and SVG for image watermarks.
Does Sejda work on Mac, Windows, and Linux?
Yes. The online version runs in any modern browser on any platform – no install needed. Sejda Desktop is available separately for Mac, Windows, and Linux from sejda.com/desktop. The desktop app is ideal when you don’t want to upload files. Both versions share the same tools, including the PDF editor and Whiteout feature.
Can Sejda remove a watermark from a scanned PDF?
Not directly, because scanned PDFs are flat images with no editable layers. The first step is to convert the scan into a real PDF using Sejda’s OCR tool at sejda.com/ocr-pdf. Once the file has proper text layers, open it in the PDF editor and use the Whiteout tool to cover the watermark on each page. Then download your clean file.
The Problem Is Solvable. Here’s Where to Start.
PDF watermarks feel permanent until you know exactly which tool handles them. Sejda makes the process straightforward.
The most important fix: head to sejda.com/pdf-editor, upload your file, and use the Whiteout tool to cover the watermark page by page. If the file is locked, unlock it first at sejda.com/unlock-pdf. If it’s a scan, run OCR at sejda.com/ocr-pdf before editing. For adding stamps to your own documents, sejda.com/watermark-pdf gives you full text and image control with reusable templates.
Start with the Sejda PDF editor right now. Upload your file, draw a Whiteout box over the watermark, click Apply, and download. That’s how to remove watermark from PDF without installing anything or hitting a surprise paywall halfway through. It takes about two minutes.
Click Here: https://www.sejda.com/